
Air conditioner Cleaner: The Ultimate Air Con Cleaner Guide
As the summer sun starts to sizzle, most of us depend heavily on our air conditioners to provide a much-needed respite from the heat. However, what many don't realize is that consistent use of an air conditioner without proper maintenance can lead to a dramatic drop in its efficiency and life span. To ensure that your AC unit is functioning optimally, one of the key maintenance tasks is cleaning, which is where an air conditioner cleaning kit comes into play.
At HVAC Shop, we understand the importance of a well-functioning air conditioner and the role that cleaning plays in its efficiency. With this comprehensive guide, we'll take you step by step through the process of using an air conditioner cleaning kit to keep your AC unit running smoothly.
What is an Air Conditioner Cleaning Kit?
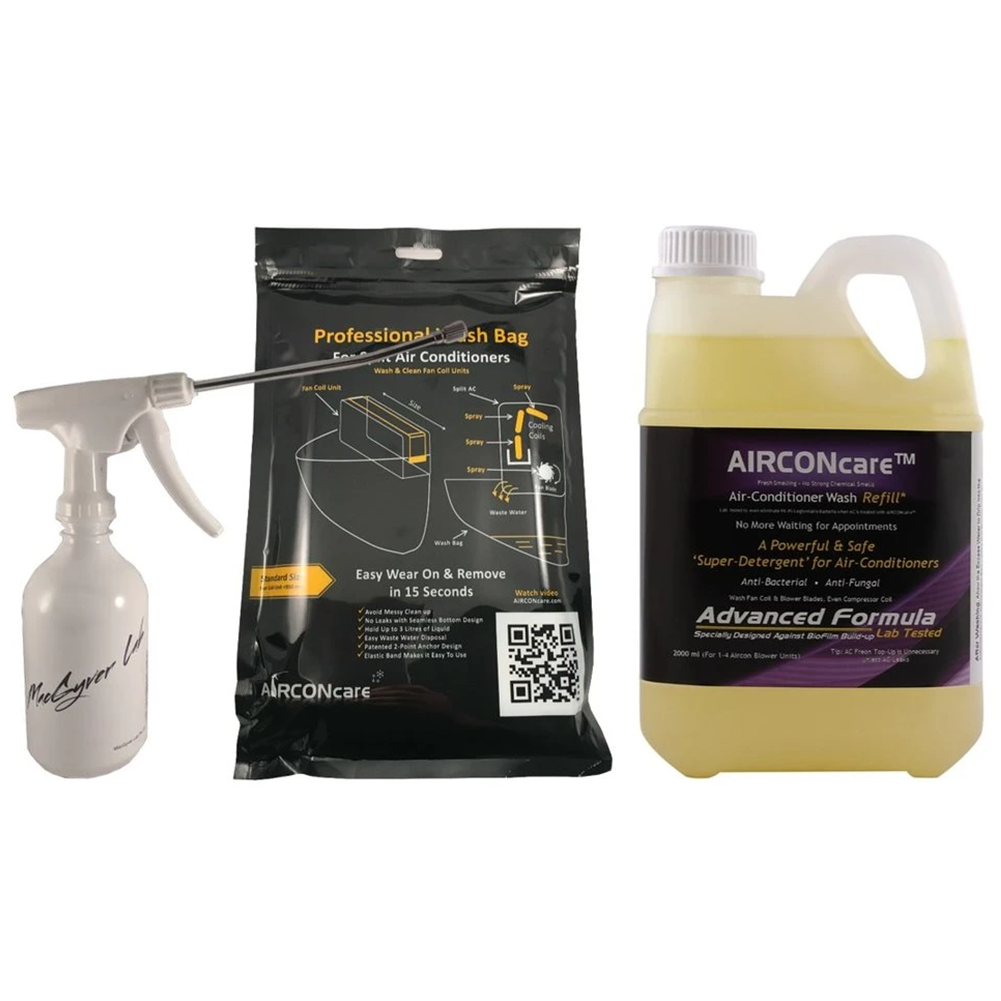
Before we delve into the how-tos, let's familiarise ourselves with the main player in this process - the air conditioner cleaning kit. An air conditioner cleaning kit is a specially designed set of tools and cleaning agents to clean and maintain your air conditioner effectively. It typically includes a coil cleaner, condensate pan treatment tablets, coil fin comb, and a sprayer.
Why is it Important to Clean Your Air Conditioner?
Just like your car or your home, your air conditioner needs regular cleaning to function properly. Dust, dirt, and debris can clog the AC filters and reduce the airflow, which can lead to a host of problems, including decreased efficiency, higher energy bills, and a reduced lifespan of the unit. Regular cleaning using a dedicated cleaning kit can prevent these issues and keep your air conditioner working in peak condition.
How Often Should You Clean Your Air Conditioner?
While this may vary depending on your usage and the environment in which the air conditioner operates, we recommend a thorough cleaning at least once a year, ideally before the start of the summer season. If your environment is dust-prone or if you use the air conditioner heavily, a more frequent cleaning schedule might be beneficial.
A Step-by-Step Guide to Using Your Air Conditioner Cleaning Kit
- Step 1: Gather your supplies. In addition to your air conditioner cleaning kit, you'll also need a pair of gloves, a soft brush, a clean cloth, and a bucket of water.
- Step 2: Turn off the power. Always start by turning off the power to your air conditioner. This can typically be done at the circuit breaker.
- Step 3: Open the air conditioner unit. Consult your air conditioner’s manual for instructions on how to open the unit to access the components you will be cleaning.
- Step 4: Apply the cleaning solution. Use the sprayer to apply the coil cleaner from your kit to the coils. Allow the solution to sit for a few minutes to break down the dirt and grime.
- Step 5: Clean the coils. After the solution has had time to work, use the soft brush from your kit to gently scrub the coils. Be careful not to damage the delicate fins.
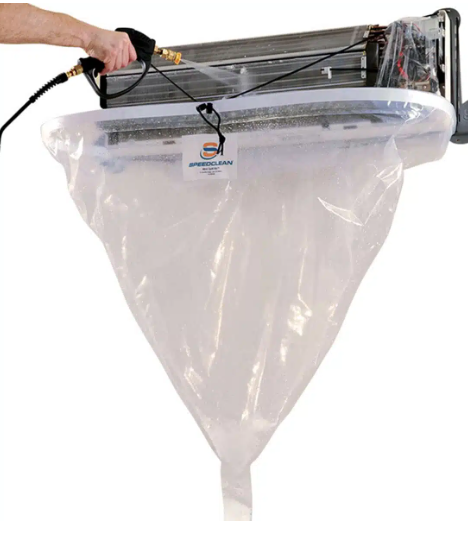
- Step 6: Rinse the coils. Use a bucket of clean water to rinse off the cleaning solution and the loosened dirt and grime. Make sure to catch the water with a pan or absorbent towels to prevent any spills.
- Step 7: Clean the air filters. Remove the filters from the unit. Using the brush, gently clean the filters to remove any trapped dust or debris. Rinse them with water if your manufacturer's instructions permit this.
- Step 8: Clean the condensate pan. Once the coils and filters are clean, move on to the condensate pan. This component collects the condensation produced by your air conditioner. Over time, it can become dirty and potentially clogged. Use the pan tablets from your cleaning kit to treat the condensate pan, following the instructions provided.
- Step 9: Check the coil fins. The coil fins on your unit can become bent over time, which can restrict airflow. Use the fin comb from your kit to gently straighten any bent fins. Be gentle to avoid causing any damage.
- Step 10: Reassemble the unit and restore power. Once everything is clean, reassemble your unit. Replace the filters and close up the unit. Then, restore power to the air conditioner.
- Step 11: Test the unit. Finally, it's time to test your unit. Turn it on and check for any unusual sounds. Monitor it for a few minutes to ensure it's cooling properly.
Key Takeaways
With this step-by-step guide, using your air conditioner cleaning kit has never been easier. By cleaning your air conditioner, you are not only improving its efficiency and extending its lifespan but also creating a healthier environment inside your home.
Regular cleaning removes dust, dirt, and potential allergens, providing you with cleaner, fresher air to breathe. It also keeps your system working smoothly, reducing the chances of a sudden breakdown and potentially saving you from costly repairs down the line.
With an air conditioner cleaning kit in hand and a little time, anyone can maintain their air conditioner and keep it running smoothly throughout the year. Just remember to check your manufacturer's instructions before starting, as some models may have specific cleaning requirements.
Wrap Up
Your air conditioner is a significant investment, and taking the time to maintain it properly is well worth the effort. With this guide and an air conditioner cleaning kit, you can ensure that your unit is ready to keep you cool throughout the summer and beyond.
We hope this guide provides you with the information you need to use your air conditioner cleaning kit effectively. If you have any questions or need further assistance, don't hesitate to get in touch with our team at HVAC Shop. We're always here to help!