Save $285.95
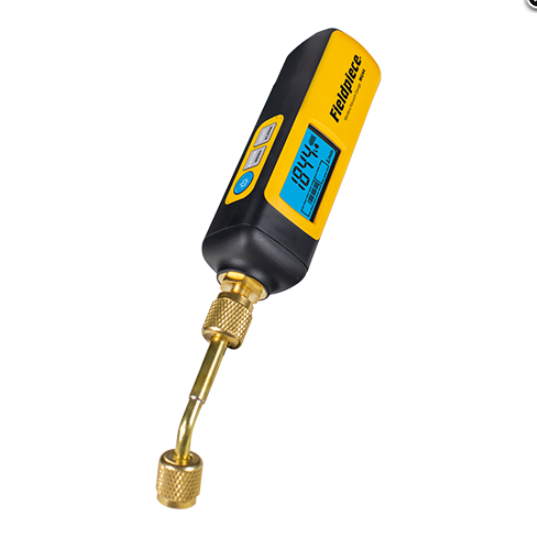
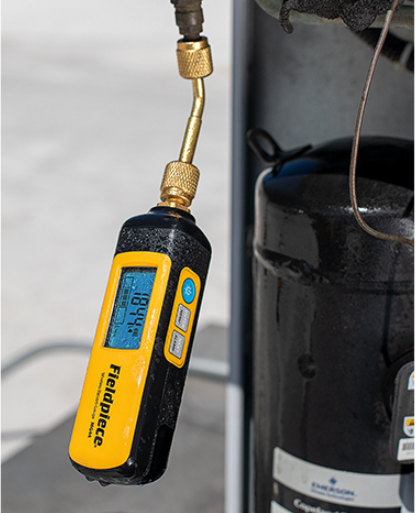
Fieldpiece
MG44 : Vacuum Gauge Wireless Probe with LCD
Sale price$502.70
Regular price$788.65
In stockSave $187.00
Save $156.20
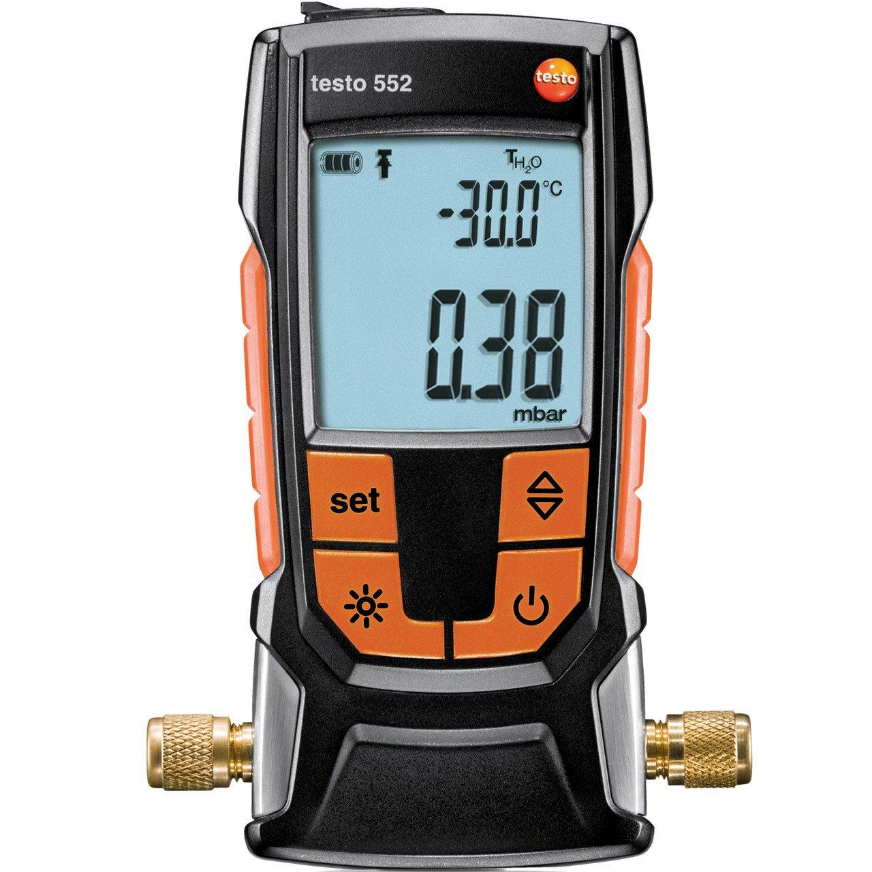
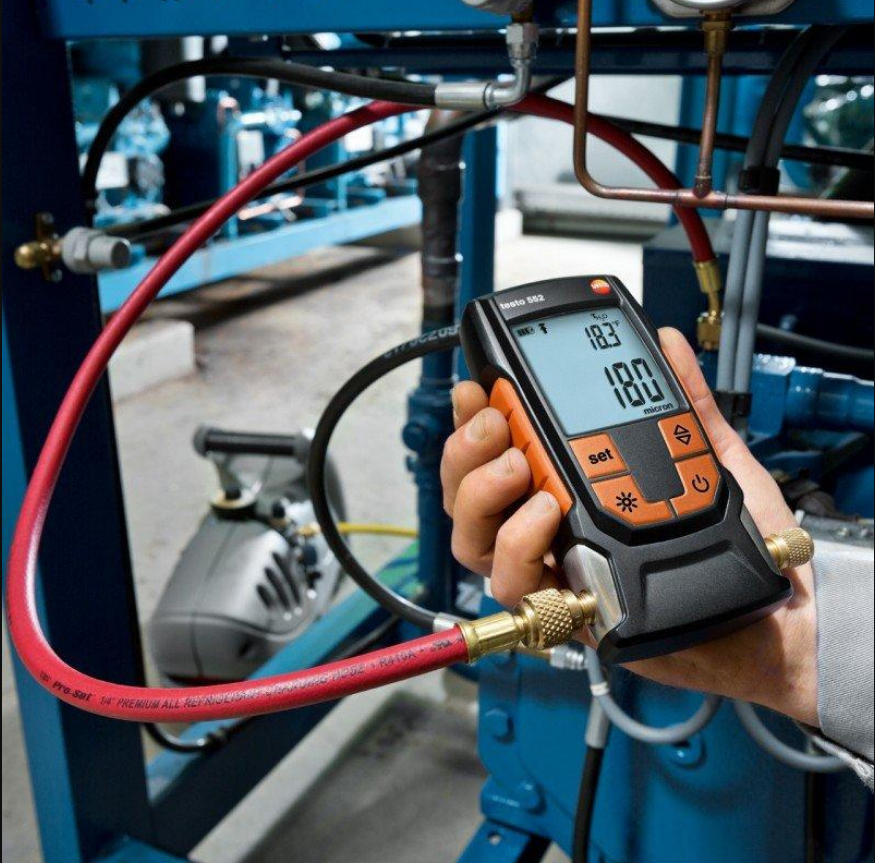
Testo
Testo 552 Vacuum Gauge With Bluetooth - 0560 5522
Sale price$621.45
Regular price$777.65
In stock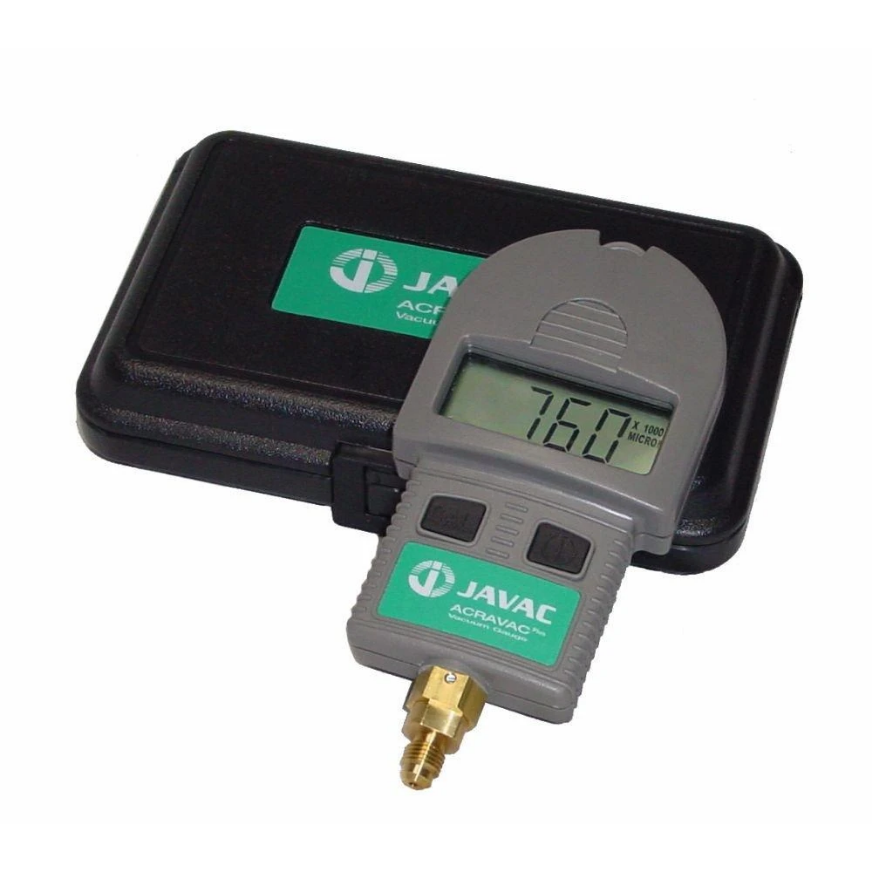
Save $150.70
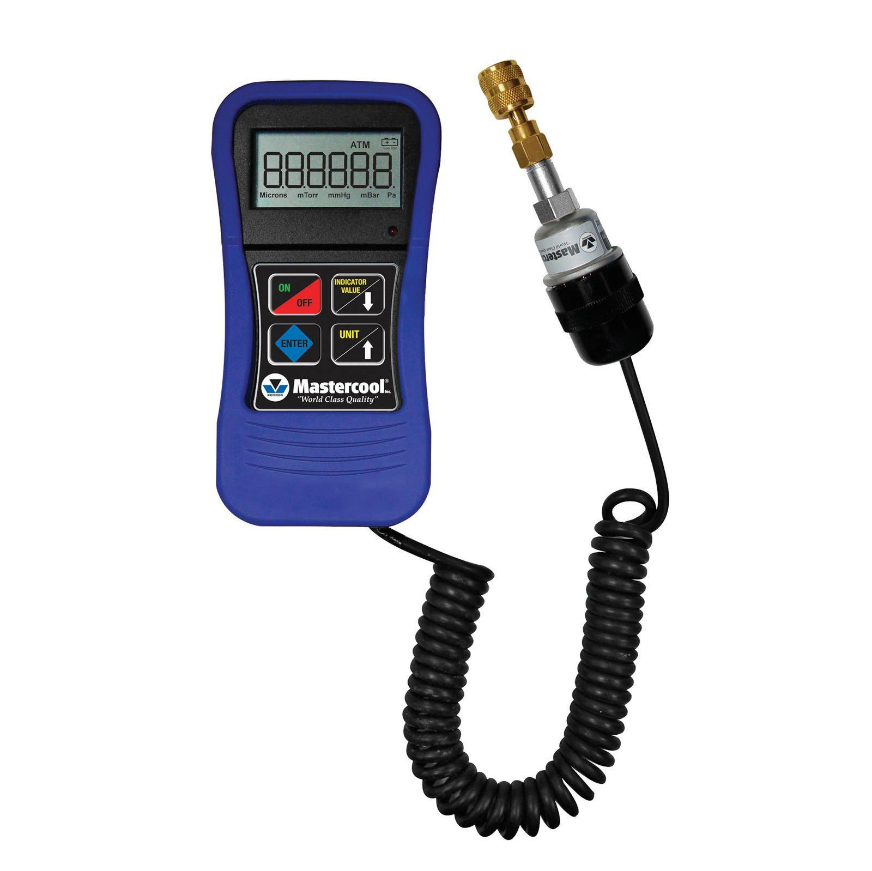
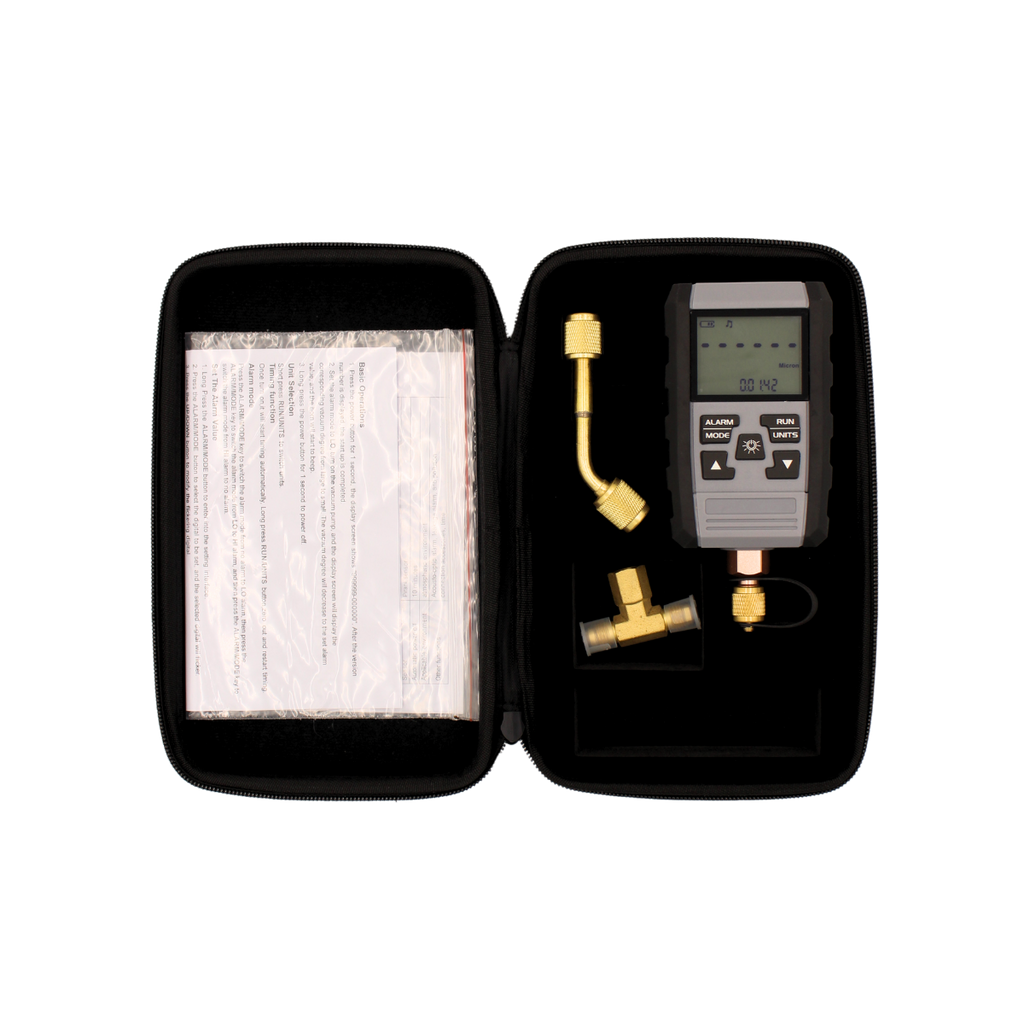
Mastercool
Mastercool Electronic Thermocouple Vacuum Gauge 98061
Sale price$602.75
Regular price$753.45
In stockSave $189.20
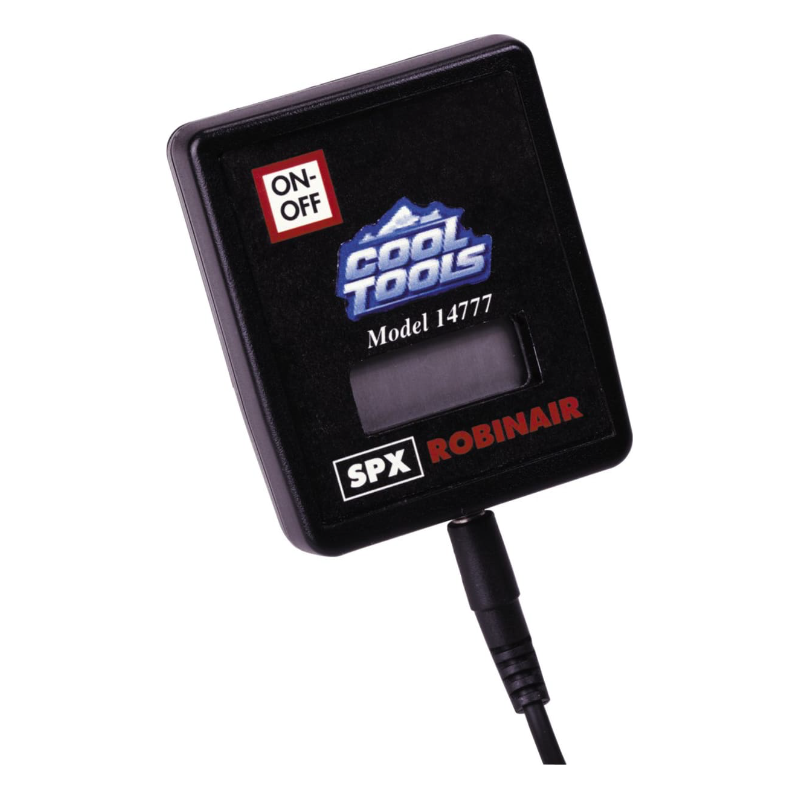

Robinair
Robinair Compact Electronic Thermistor Vacuum Gauge 14777
Sale price$754.55
Regular price$943.75
In stock